How do I use the new NVIDIA App performance tuning and overlay features to replace NVIDIA Control Panel?
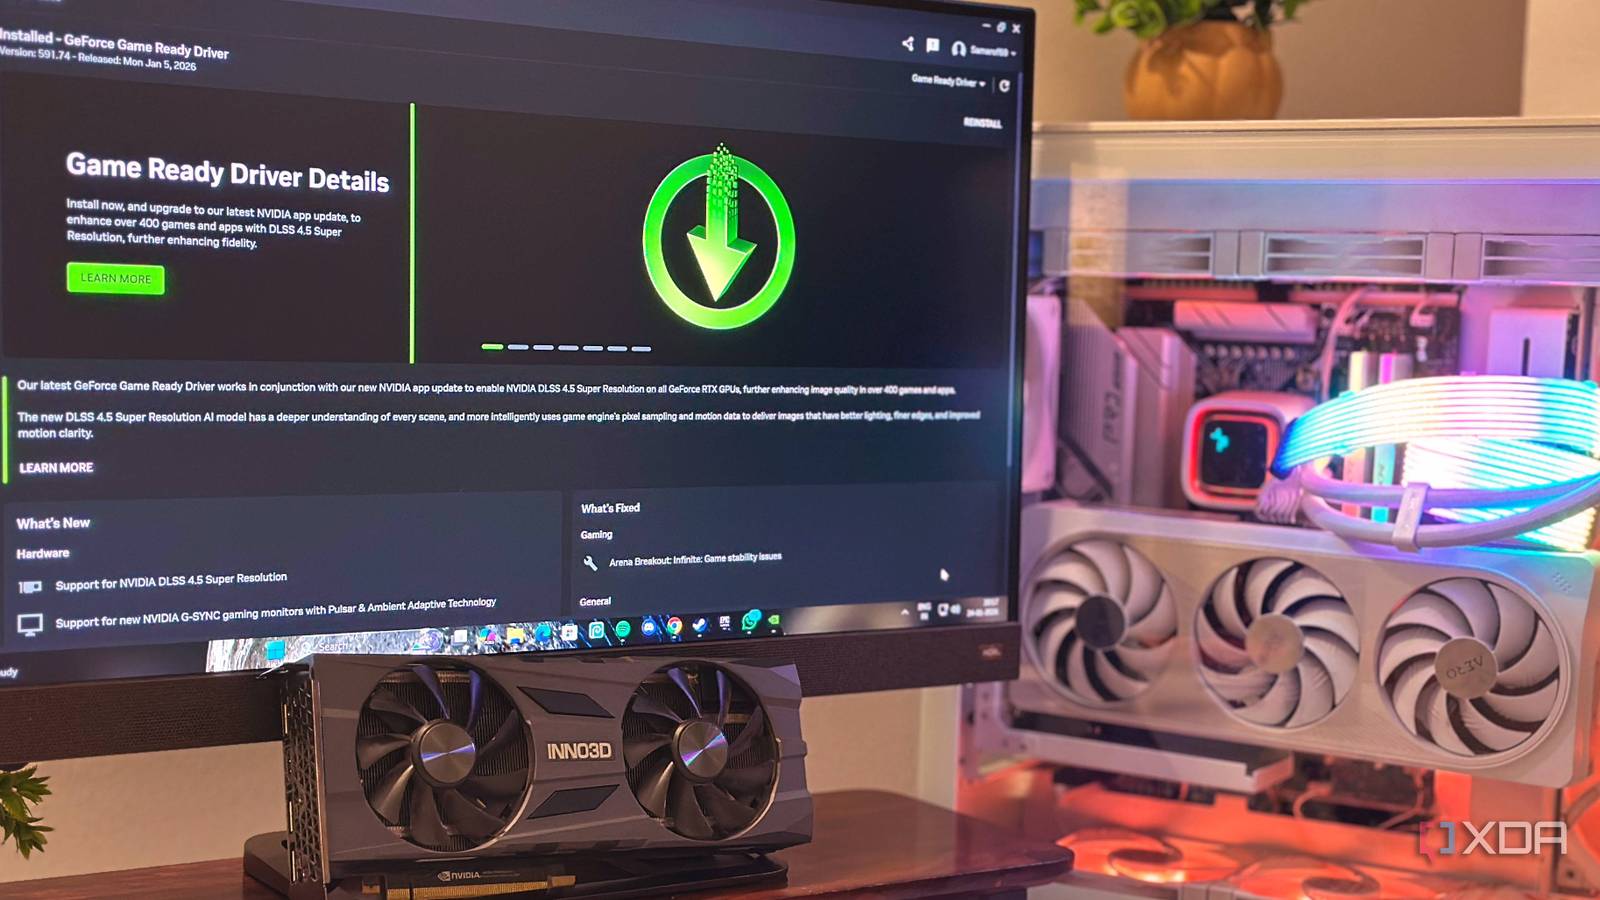
The unified NVIDIA App consolidates the legacy NVIDIA Control Panel and GeForce Experience into a single interface. You can manage GPU overclocking, display settings, graphics overrides, and in-game performance overlays directly within the app.
1. Automatic GPU Performance Tuning
The NVIDIA App includes a built-in one-click GPU scanner that safely tests your graphics card's voltage-frequency curve to apply a stable auto-overclock:
-
Open the NVIDIA App.
-
Click System on the left navigation bar, then select the Performance tab.
-
Toggle Automatic Tuning to On.
-
Allow the app 10–20 minutes to test your hardware. (Keep your PC idle during the scan for accurate results).
-
(Optional) Manually adjust the Power Target, Temperature Target, Voltage, or Max Fan Speed sliders if you want to enforce strict thermal or acoustic limits.
2. In-Game Performance Overlay & Statistics
The redesigned overlay replaces third-party tools like MSI Afterburner / RivaTuner for real-time monitoring:
-
Press
Alt + Zin-game or in the desktop app to open the full overlay. -
Press
Alt + Rto instantly toggle the performance HUD on or off during gameplay. -
To customize tracked metrics, go to Overlay > Statistics / HUD Layout:
-
Layout Style: Choose between Compact, Advanced, or Custom.
-
Tracked Metrics: Select FPS, 1% Low FPS, GPU Utilization / Temperature / Power (Watts), CPU Utilization, and System Latency (NVIDIA Reflex Analyzer).
-
Position & Transparency: Anchor the HUD to any corner of your screen and adjust background opacity.
-
3. Replacing Core NVIDIA Control Panel Settings
The app consolidates legacy 3D graphics and display settings across two main sections:
A. Global & Program Graphics Settings (Graphics Tab)
Navigating to Graphics replaces the legacy Manage 3D Settings menu:
-
Global & Per-Game Profiles: Choose to apply settings globally or configure specific profiles for individual games.
-
Low Latency Mode: Set to
OnorUltrato reduce input lag. -
Max Frame Rate: Enforce global or game-specific FPS limits.
-
Power Management Mode: Set to
Prefer Maximum Performance. -
DLSS Overrides & Smooth Motion: Force updated DLSS AI models or enable driver-level Frame Generation across supported titles.
B. Display Settings (System > Displays Tab)
Navigating to System > Displays replaces monitor setup menus:
-
G-SYNC: Enable G-SYNC globally and check Allow G-Sync Settings for the selected Variable Refresh Rate display.
-
Resolution & Refresh Rate: Set display resolutions and native peak refresh rates (Hz).
For a step-by-step visual demonstration of enabling auto-tuning, watch the NVIDIA App Auto Tuning FPS Guide. This video shows where to locate the Performance tab and what to expect while the 1-click GPU optimization runs.
Comments
Post a Comment
Do not insert clickable links or your comment will be deleted. Checkbox Send me notifications to be notified of new comments via email.